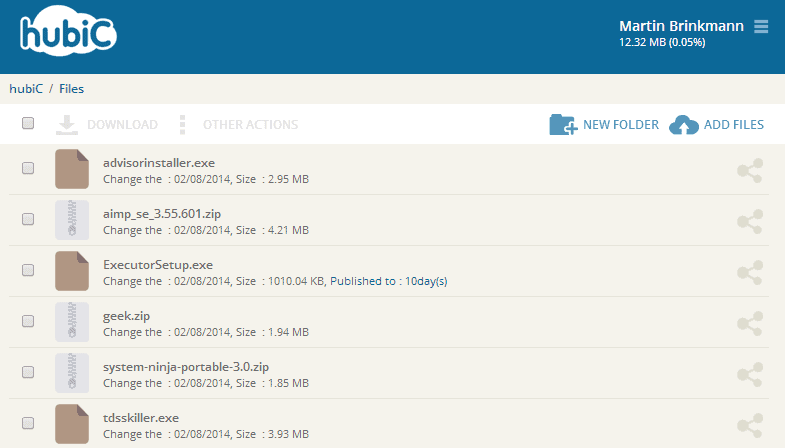
Source : https://github.com/TurboGit/hubicfuse
x86 Version : http://www.positiv-it.fr/QNAP/APP/HubicFS_2.1.0.1_x86.qpkg.zip
ARM7 Version http://www.positiv-it.fr/QNAP/APP/HubicFS_2.1.0.1_arm-x31.qpkg.zip
Note :
Step 1
once Application installed and you Hubic account correctly setup
log in SSH on your NAS and execute : "/opt/HubicFS/hubic_token -k"
and follow instructions, open my HubicFS Webui and copy and paste the informations (replace the following lines below)
Code:
        client_id=[Hubic client id for the registered application]
        client_secret=[Hubic client secret for the registered application]
        refresh_token=[A refresh token you got from the script]
Stop and restart QPKG, it is done
Step 2
create a share within QTS called "HubicDrive"
your Hubic is now accessible within your share directory (HubicDrive), you can now use RTRR to backup your file.
Code:
Known issue :

temp files are not automaicaaly removed (i put a script to clean directory on each Start) "https://github.com/TurboGit/hubicfuse/issues/89"
HubicDrive not set in 777 as a default share hubicfuse limitation even if i use force umask


